Editing Landscapes (HDR and Panoramas in LR and PS)

Following my Snowdonia trip last year, quite a few of you asked for a tutorial showing how I edited the shots, so this... is that.
In this tutorial I'll show you how to combine the bracketed exposures in Lightroom to give you your HDR image, as well as showing you how to stitch multiple shots together for your panorama.
Then I'll run you through some Photoshop techniques from cloning, to sharpening, dodge and burn through to colour work.
I hope these tips help you in your own editing:
...and here's the final image:

A Post on Post
I often have people say, when taking a look at my pricing for headshots and portraits, 'I wish I could charge £150 for an hour's work'.
One hour?
Sure the session itself will last in the region of an hour, but in some ways that's only where the work begins. If it was as simple as pointing a camera at someone and clicking the shutter to create a professional portrait, a lot more people would be professional photographers. There are a load of decisions and skills which go into producing a high end shot; from camera setup, to lighting decisions, background and setting considerations, coaching poses and expressions, and finally post production.
That's what I want to focus on here because it's always the most time consuming element, and often goes unseen.
An edit will typically take me around an hour per image, sometimes more. I can often take an image through up to 4 separate programs to finish it, depending on what I'm trying to accomplish, and the work I do here is as important to creating the look which defines my style as any other stage.
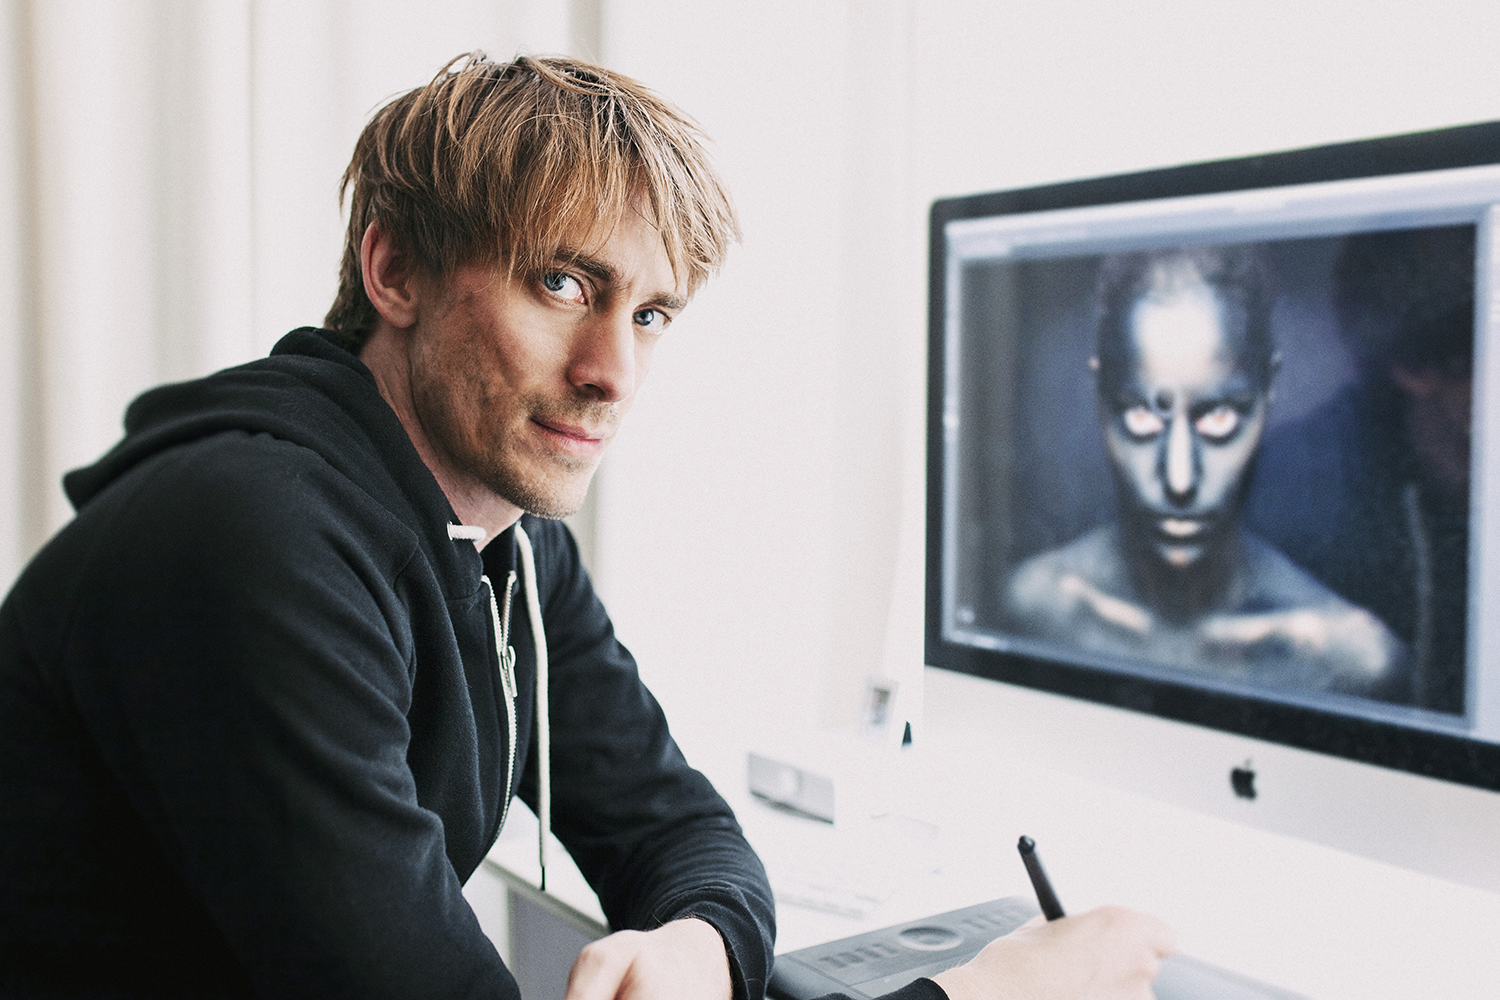
Let's take this most recent headshot shoot with RADA student, Finn as an example:
After importing the 200-300 images into Lightroom I will go to work selecting the best, and shortlisting the final 5. I will then work on white balance, exposure, shadow and highlight detail, clarity, vibrance and lens corrections so that I can export hi res images with good dynamic range. These will make clean canvases for the detailed work to follow in Photoshop. Here is a time-lapse of a typical edit in Photoshop to give you an idea of the behind-the-scenes work which goes into creating a professional portrait:
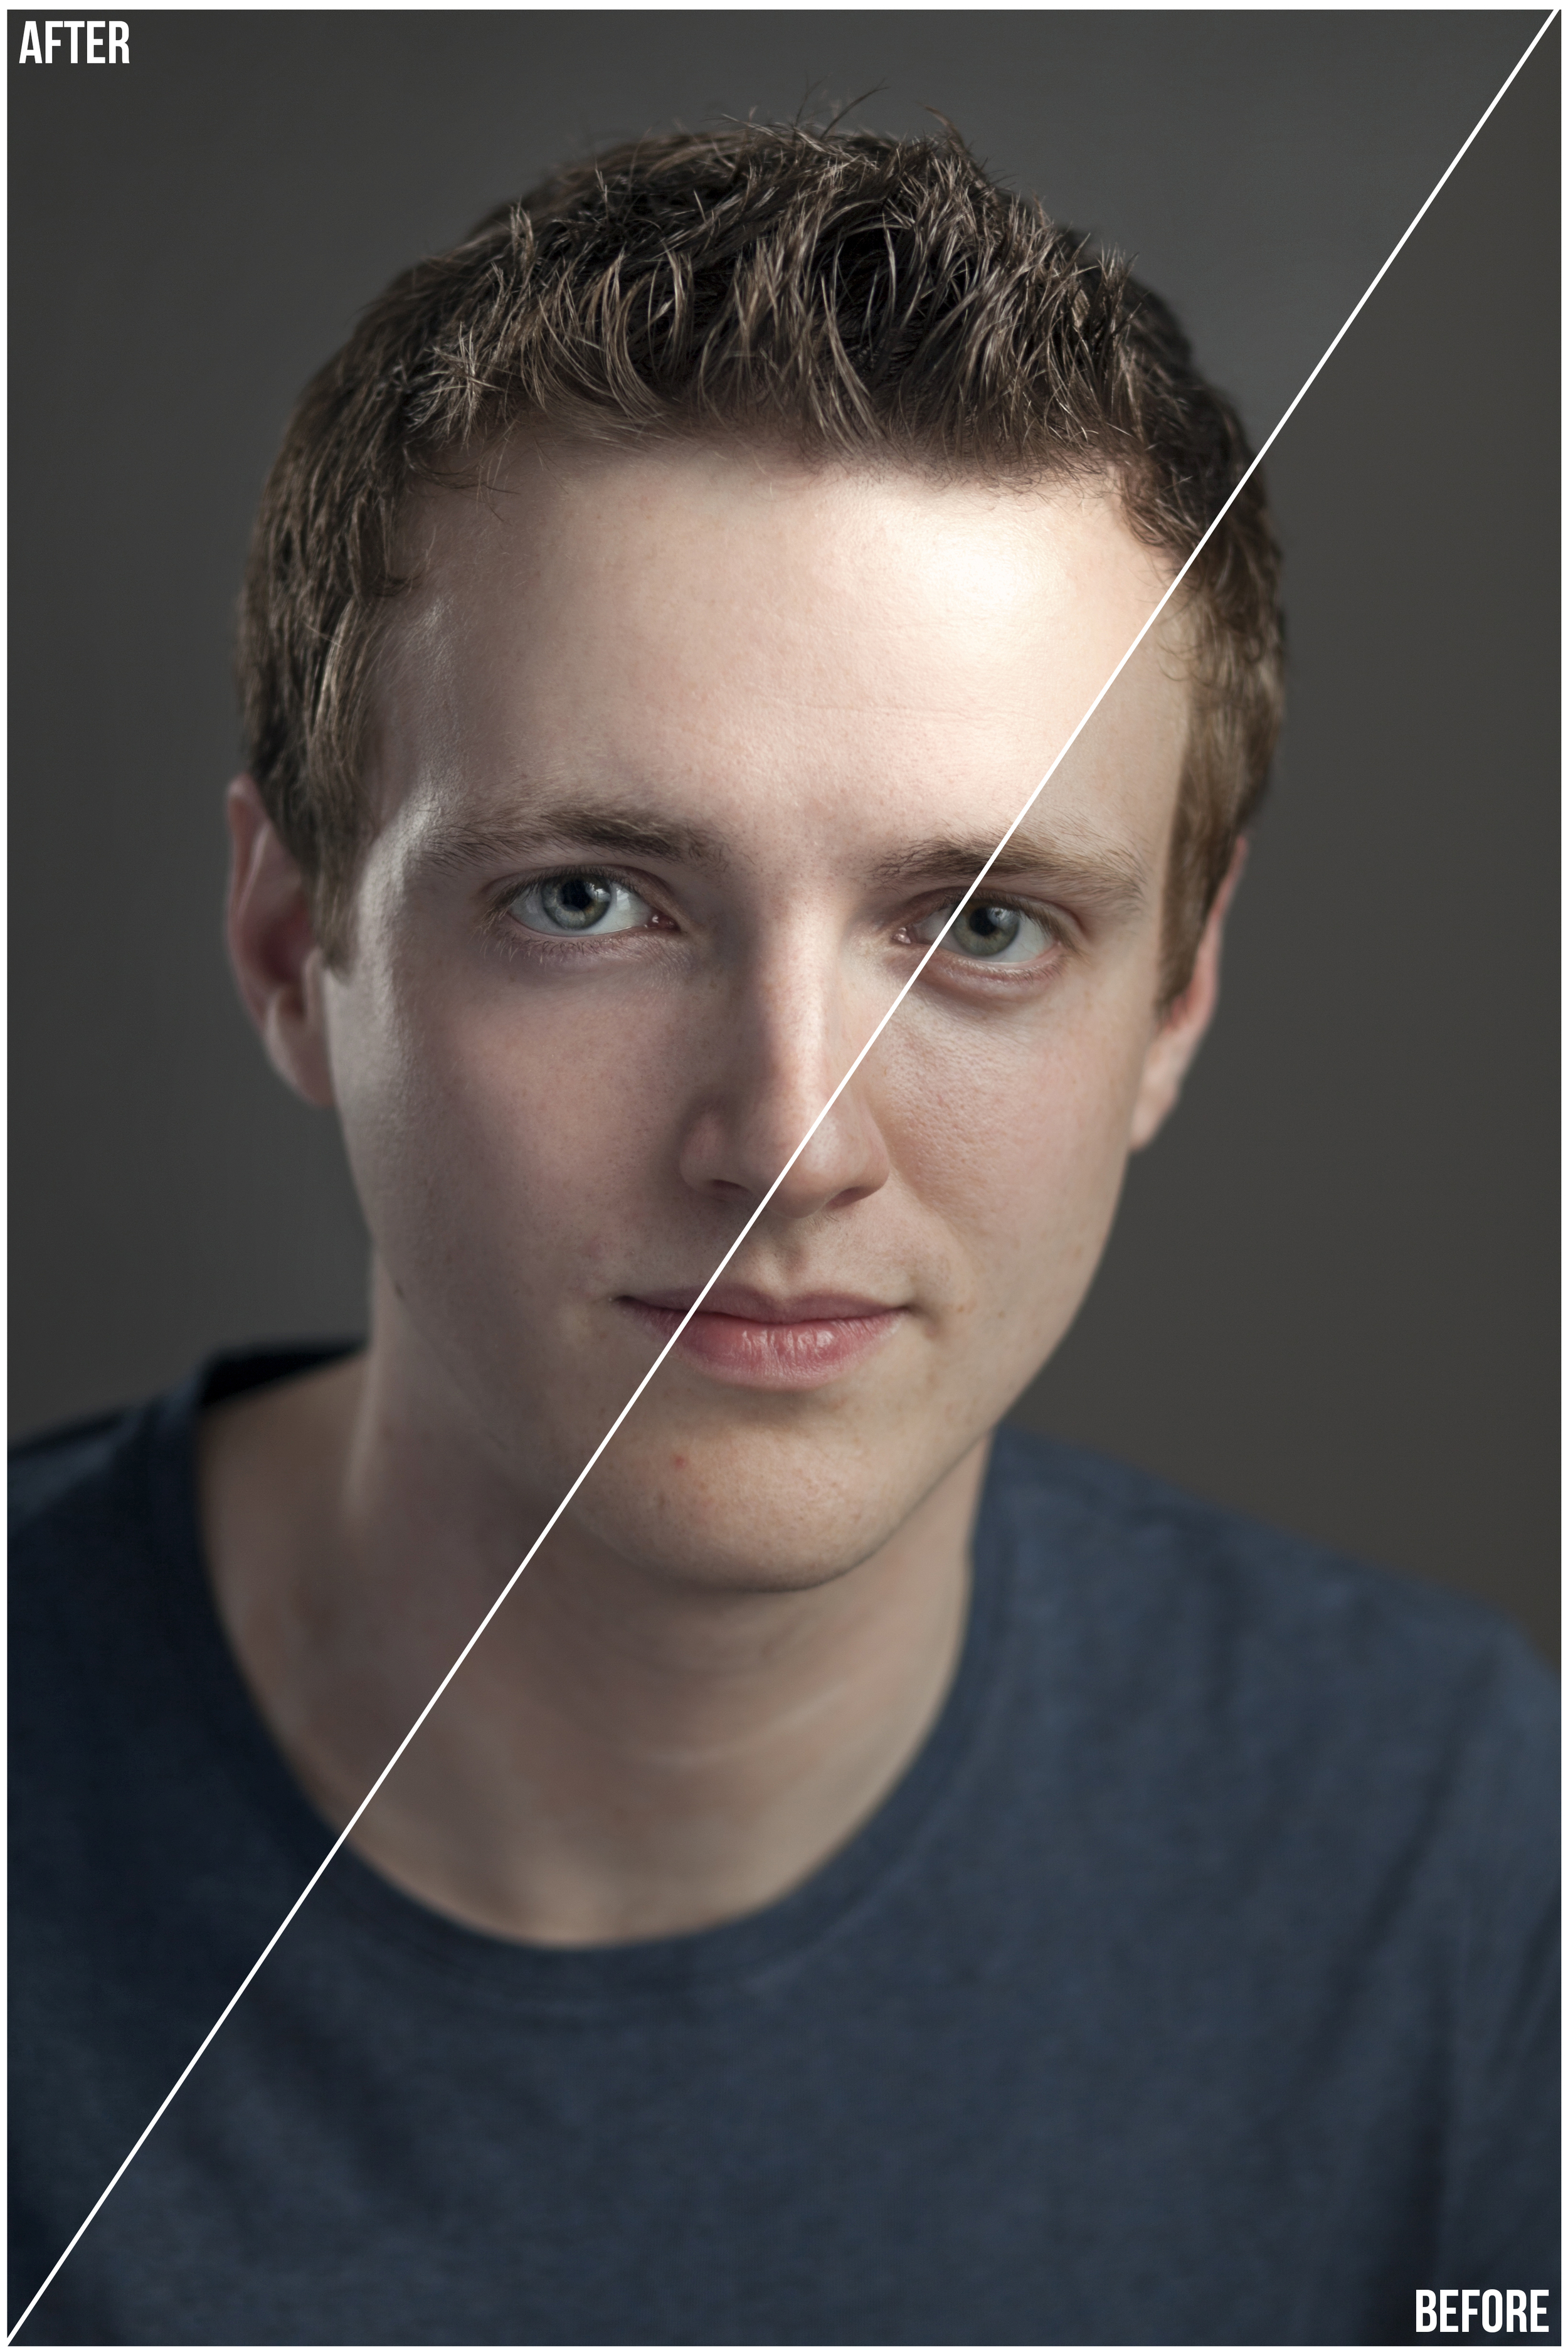
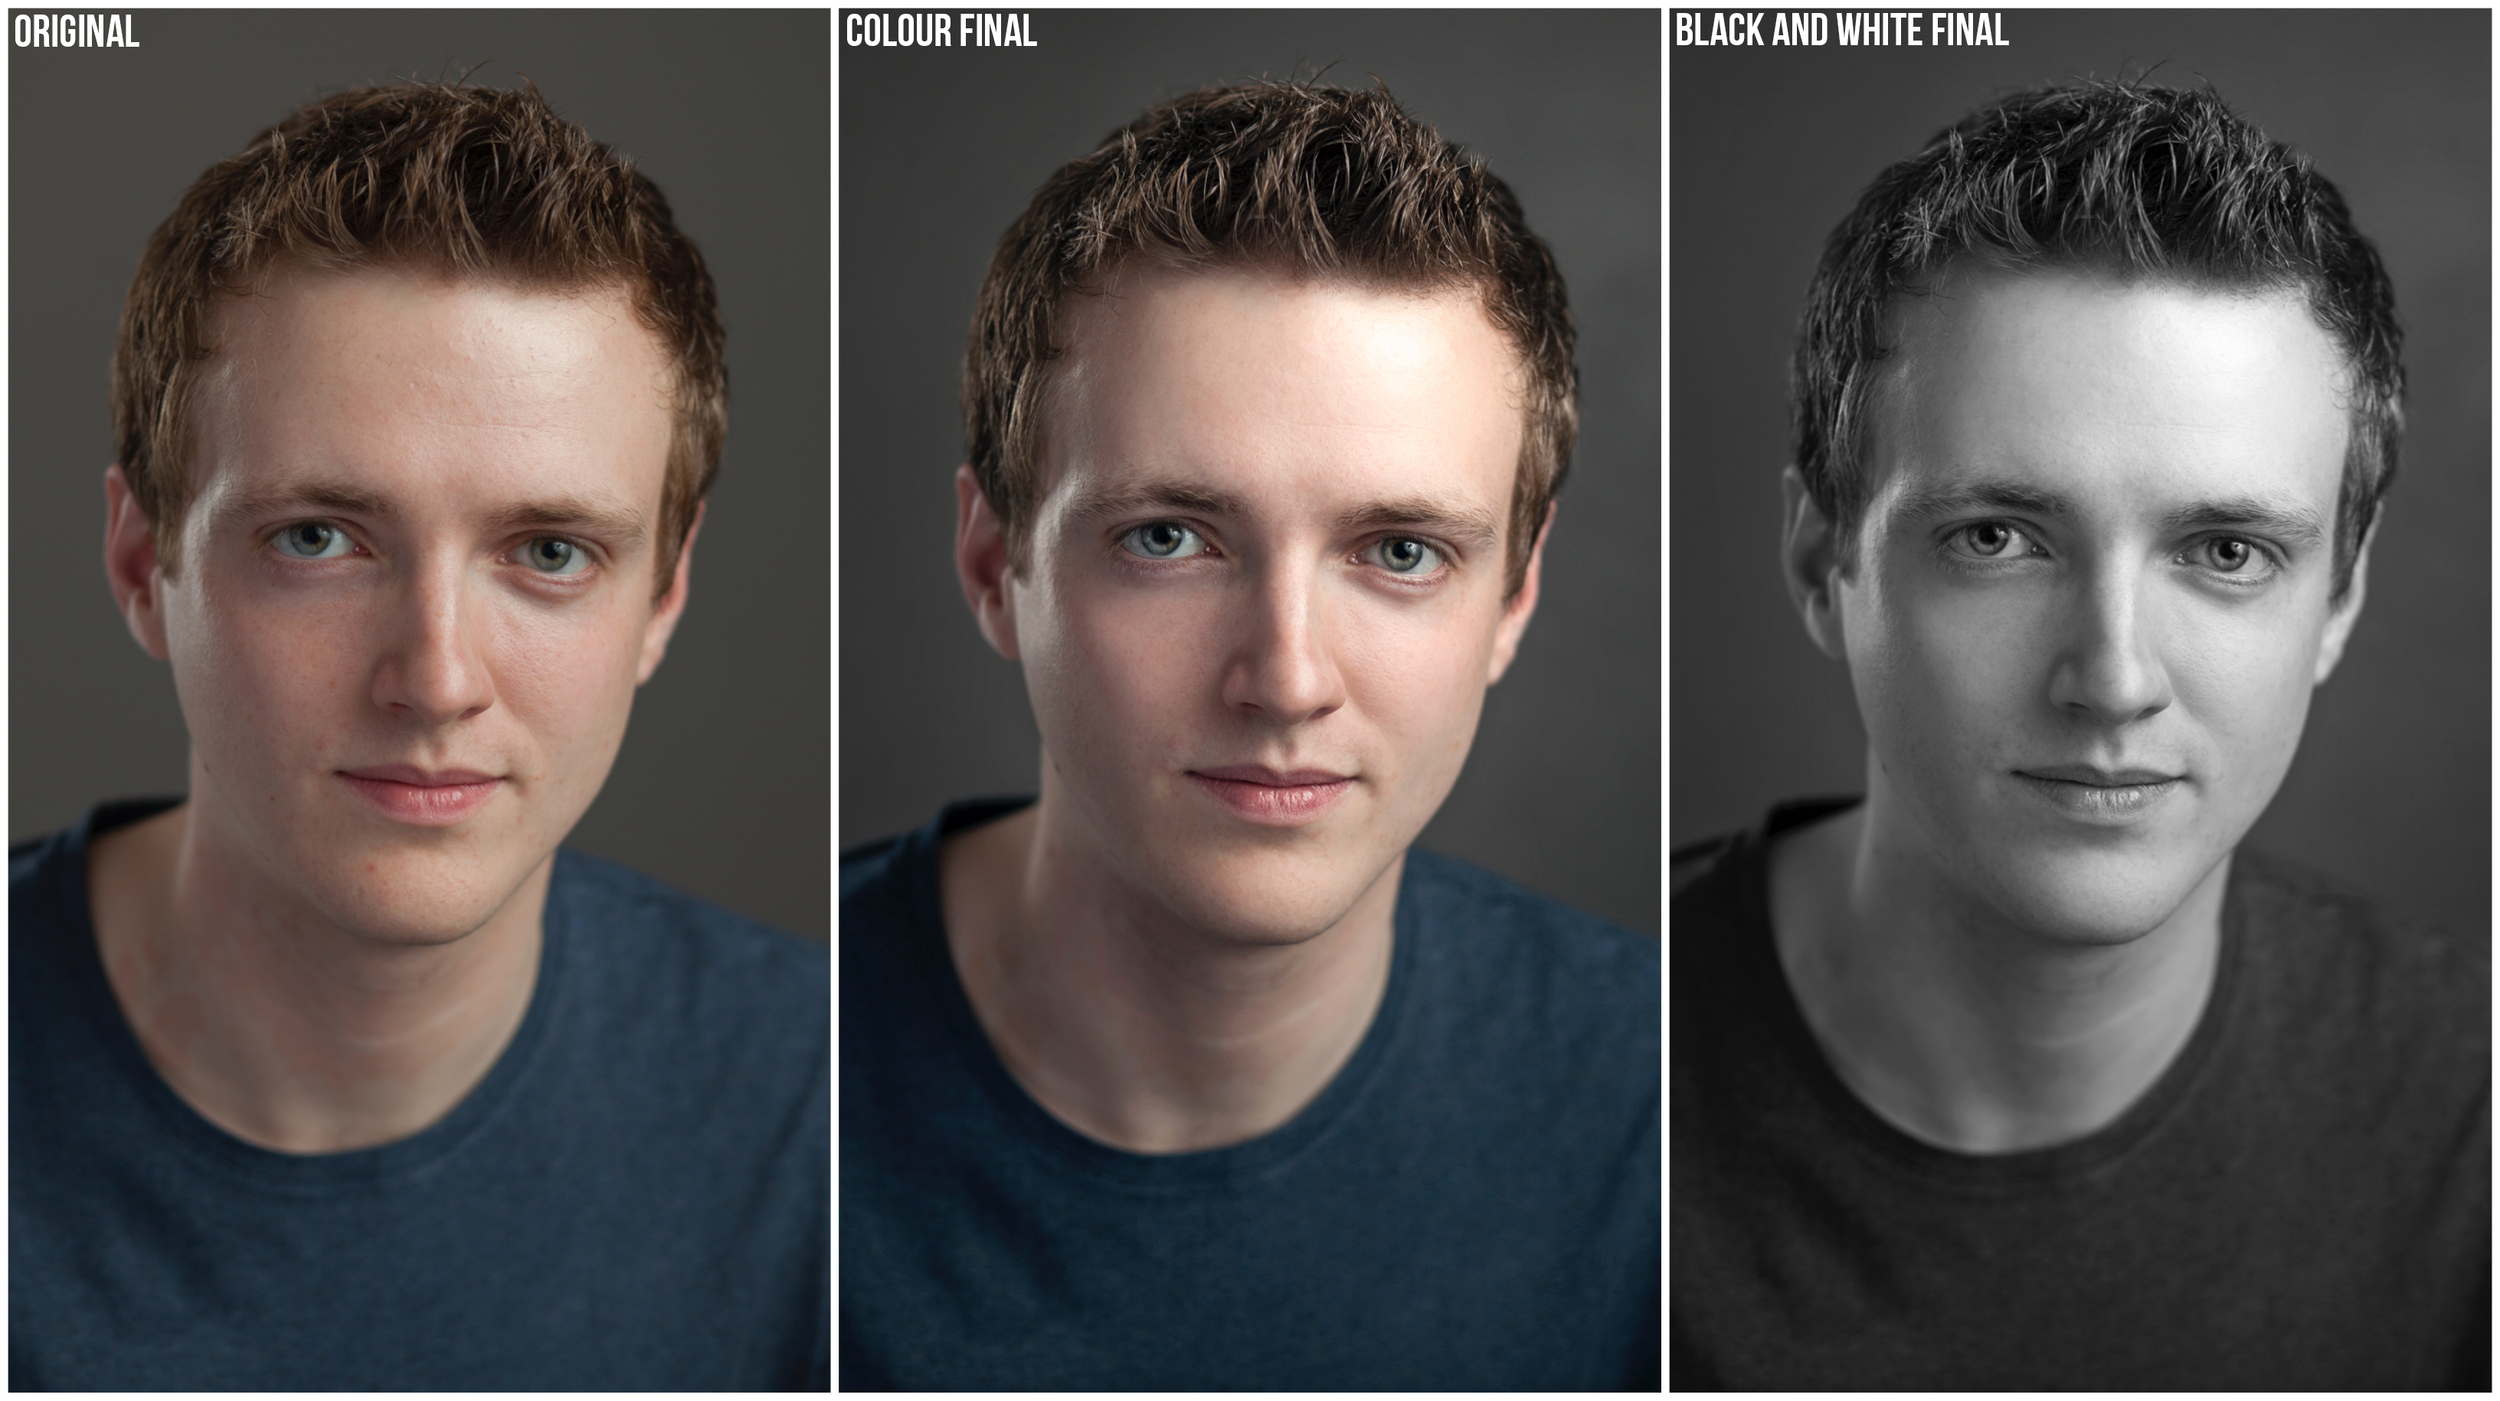
Coming out of Photoshop I should have 2 final versions to hand over; a Colour and a Black and White:
That means of course, taking in to account that I provide 5 retouches, each in Colour and BW versions, that you are actually paying for 6 hours minimum (1 for the shoot and 5 for the editing). This doesn't factor in the fact that shoots often run over time, edits can take longer, equipment set up and pack down takes a mo on it's own, and organising the shoot takes it's own time; but let's ignore that and say that actually I am now charging you £150 / 6 hours = £25 per hour.
This assumes of course that you were only paying me for time, but as many photographers have pointed out on many blogs over the last few years we have to cover costs like insurance, gear purchases and repairs, website hosting, taxes, internet, software, and the list goes on.
I don't tell you this to complain, but I hope this gives you a better idea of the hard work and skill which goes into creating the portraits or headshots you're parting with your hard earned cash to obtain. The session you are involved in is only really the tip of the iceberg.
I usually end up telling people who ask the question which started this post, that I'm very proud of the work I do to produce these images, and I stand by my pricing as I believe they are worth every penny.
Having peeked behind the curtain, I hope you now do too.
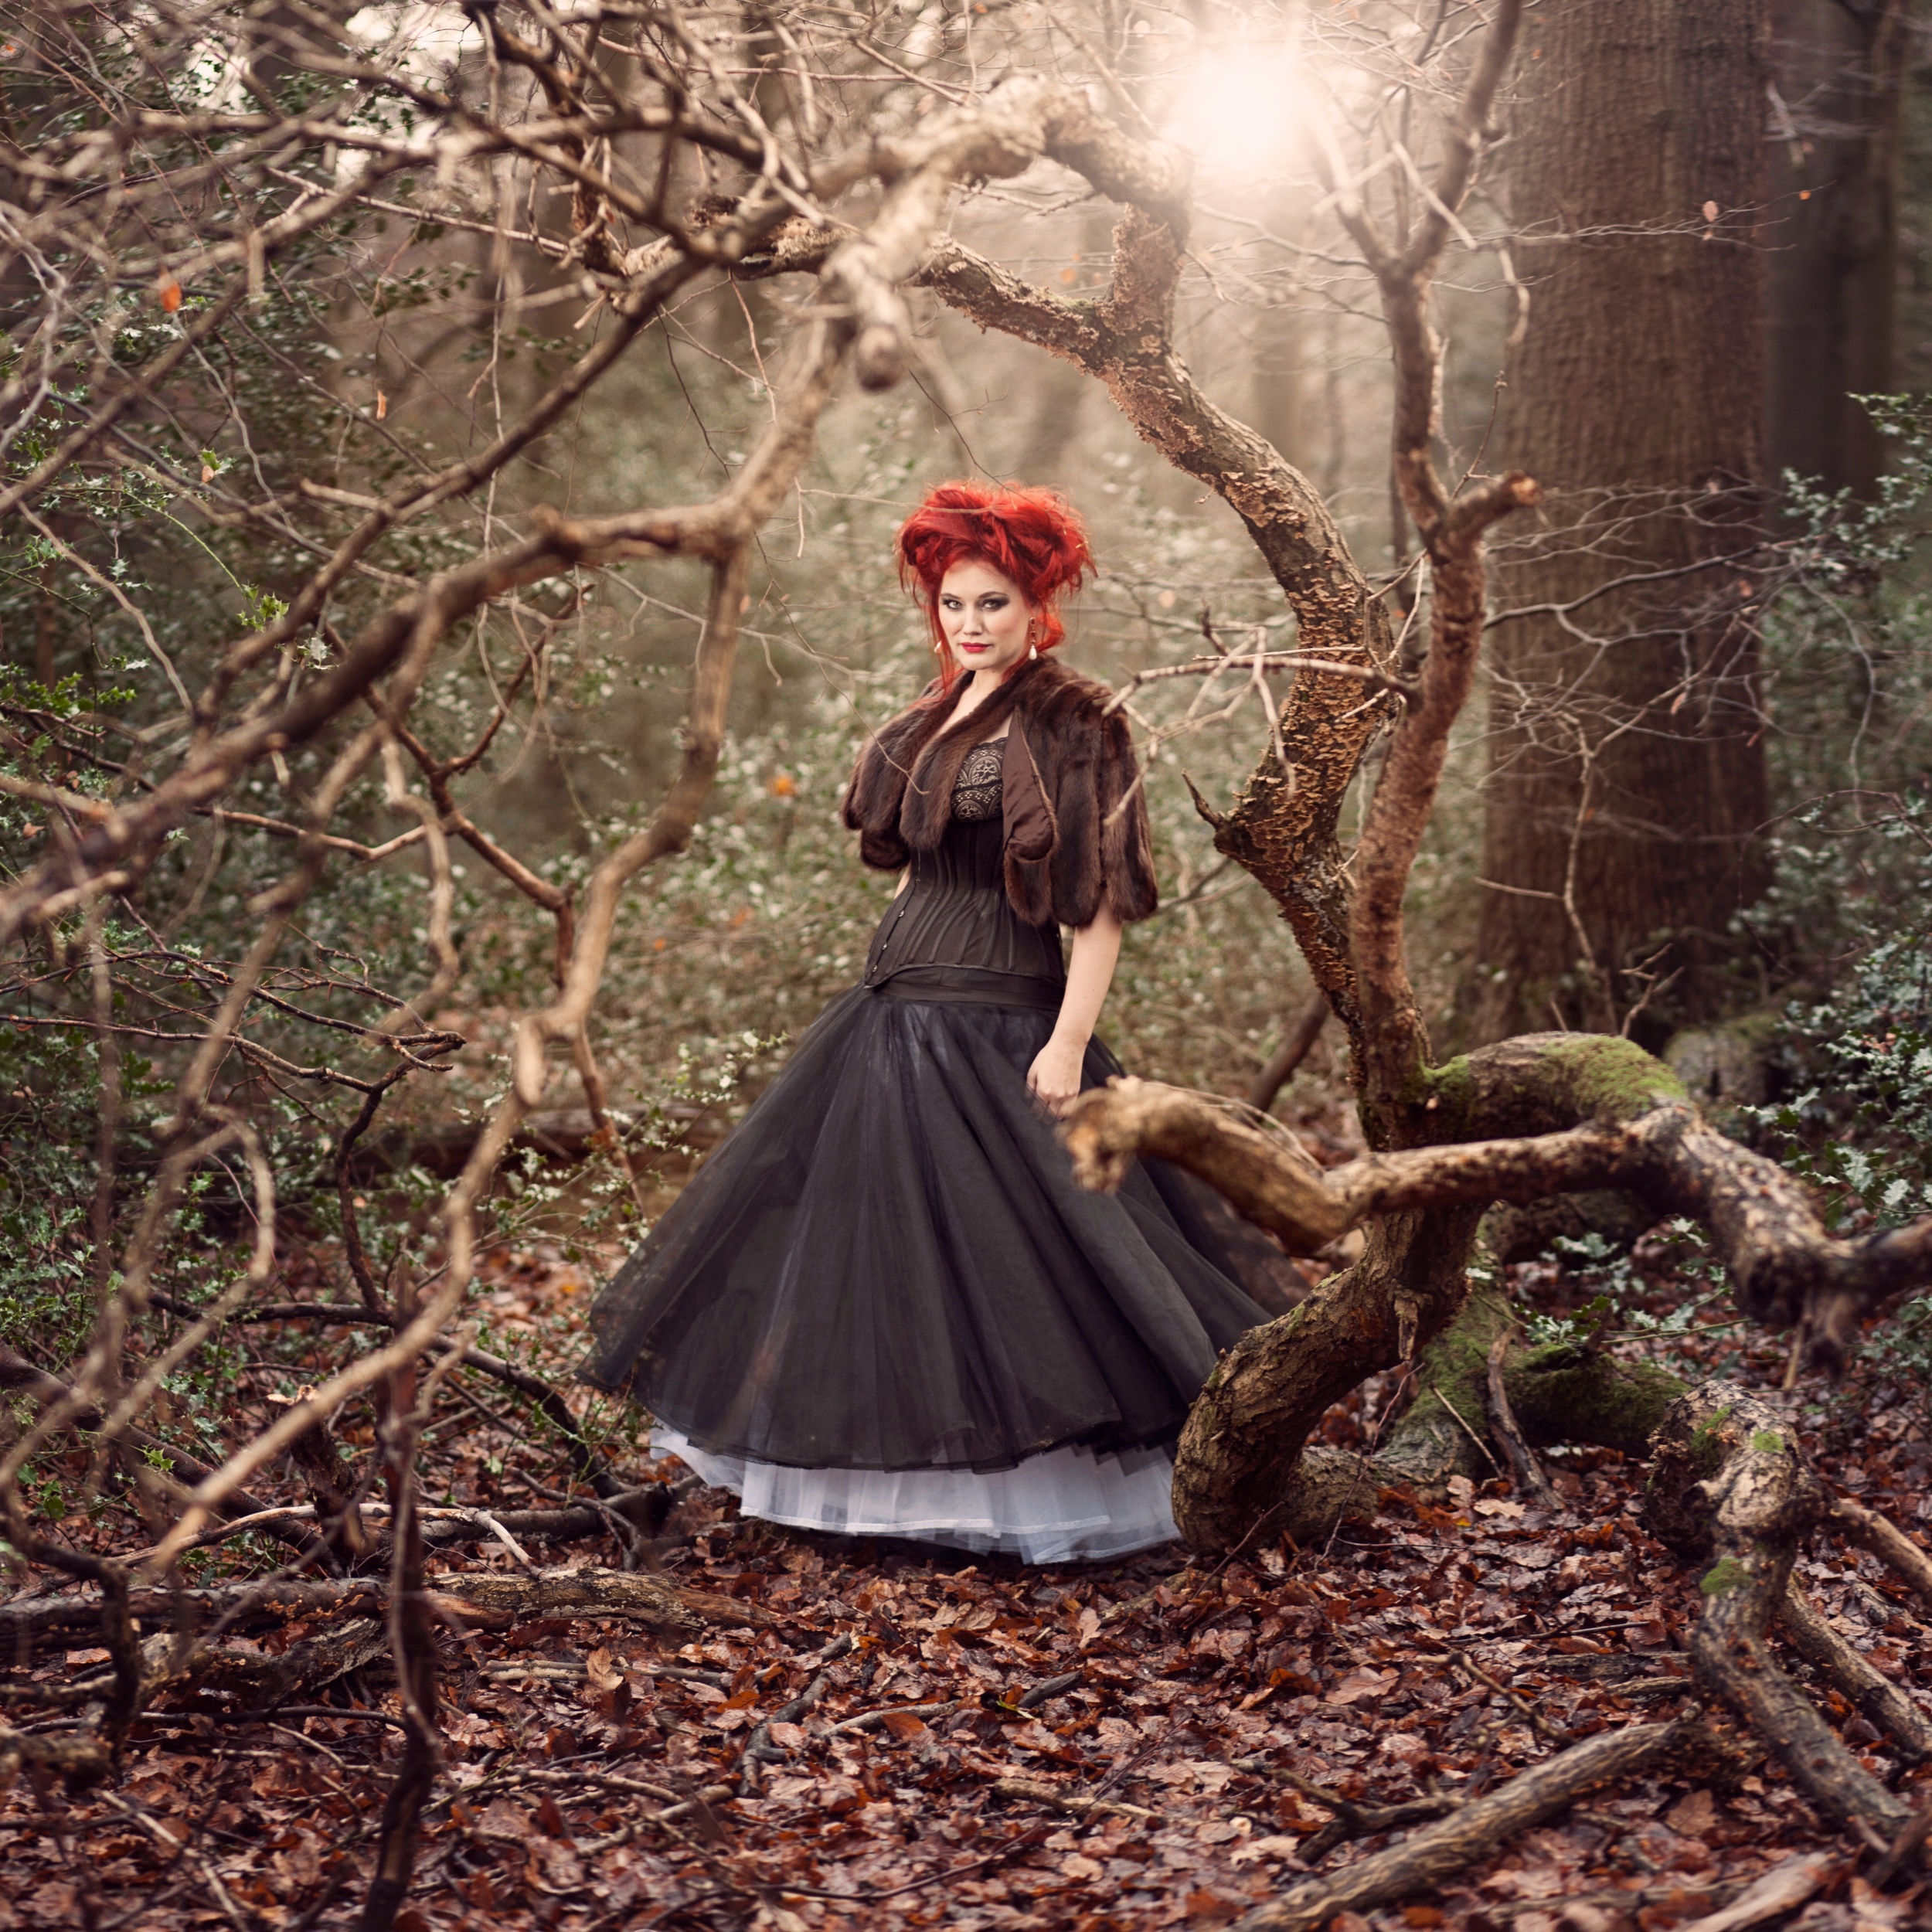
How I made that shot: Moonika

This is a shot I took recently of Moonika, and I thought I would show you how I pulled it off.
Moonika and her friend Lisa are costume designers for the stage here in London, and they contacted me to take some shots of the new pieces they had made. We decided to head out into the woods out back of Lisa's house to see if we could get some Tudor-style shots, for those of you familiar with the recent bodice-ripping Showtime series.
I knew in my head what sort of shot I wanted:

I was looking for a shot of the setting sun coming in through the trees while the subject strolls through the woods. I would bring along my Alien B800 light to act as a fill for the obvious shadows which the setting sun would cast, and then balance it all out to maintain a natural feel. I chose to use a Strip Box modifier because I wanted the light to have a reasonable even spread across Moonika's whole length, head to toe,, rather than the fall off I would have had if I used a 1m softbox placed at head height. I could have got the even spread with a large 2m softbox, but then I would have had a lot of light spreading across the floor as well. The strip box gave me the most control.
Unfortunately, as you can see from this 'behind the scenes' shot, the weather wasn't playing ball:

No sun.
Flat grey skies.
Not to worry.
I positioned her with her back to the sun anyway to get at least some rim light and lightly filled from the front with the strip box.
I'll get to how I accentuated the light in the edit.
We had done a bit of walking around and Lisa had discovered a fallen tree. I asked Moonika to stand in middle and positioned myself so it created a natural frame to the image with her standing center frame.
I also knew that I wanted to imitate a medium format look, with a full length square cropped shot, and a shallow depth of field. No small task with a DSLR.
My equipment was as follows:
Camera: Canon 5DmkII
Lens: Canon 85mm f1.8
I knew this combo would give me the shallow depth of field I wanted, but there was a bit more work to do to get the shot I wanted.

Now follow my logic here. If I want the square crop and depth of field which a Medium Format would give, I could get close with a few stitched shots from my 35mm full frame DSLR.
If I shoot 3 portrait-oriented shots, at a low aperture, and then stitch them together and crop the image square, I should be able to replicate some of the feel and depth I'm looking for. So I lined up my first shot with Moonika sitting in centre frame, and then warned her that I needed her to freeze for 3 consecutive shots, including one left and one right of the centre frame, with a small over lap between each so that photoshop would have something to stitch. Here are the raw shots out of camera:

And here is the shot after stitching the 3 shots together and cropping:

So I'm closer to the framing and depth of field I want.
Back to the lighting. What sun was making it in through the cloud cover was still highlighting her from behind, including her hair and shoulders, but not nearly as much as I wanted. It still looked a little flat.

So with the lighting I wanted in mind I went to work in Photoshop.
There is too much to go into detail about here, and it's a bit technical in places, but let me list the steps I took and you may pick up some tricks:
- I removed any obvious distractions with the Healing Brush and Clone Stamp tools.
- I dodged the highlights to accentuate shape using a Curves Layer set to Screen, and masking it in.
- I burned the shadows to accentuate shape using the Curves layer set to Multiply, and masking it in.
- I then went to work on colour using a combination of Curves, Colour Balance and Levels to get the feel I wanted. In short I was looking to warm up the whole image, and introduce some cooler tones to the shadows to create some colour contrast.
- I then used the Lighting Effects Filter to direct the light from the rear of the image. This layer only ends up being used at about 20% opacity but gives a nice starting point.
- I then created a fake sun in the background using the Lens Flare Filter on two layers, one small one at the centre point of my proposed sun, and one larger at a lower opacity to give the light some depth. These layers were both masked using the Apply Image function so that they only applied to the highlights of the image.
- I created some subtle rays for the sun by creating a curves layer with brightened mids and highlights, and boosted yellows, and then drawing rays extending out into the image on a mask layer. To blend everything I blurred the mask layer until I couldn't see any defined lines.
- I burned the edges of the image to pull the focus towards the centre, again using a masked Curves Layer set to Multiply.
- I boosted the Saturation of her hair with a masked Saturation Adjustment Layer.
- I further corrected the colour, as before, to create more feel after completing the light changes.
- To finish I sharpened the image using a High Pass Filter.
Here, once again, is the final image:
If you want to find out more about stitching images see my post on Bokeh Panoramas.
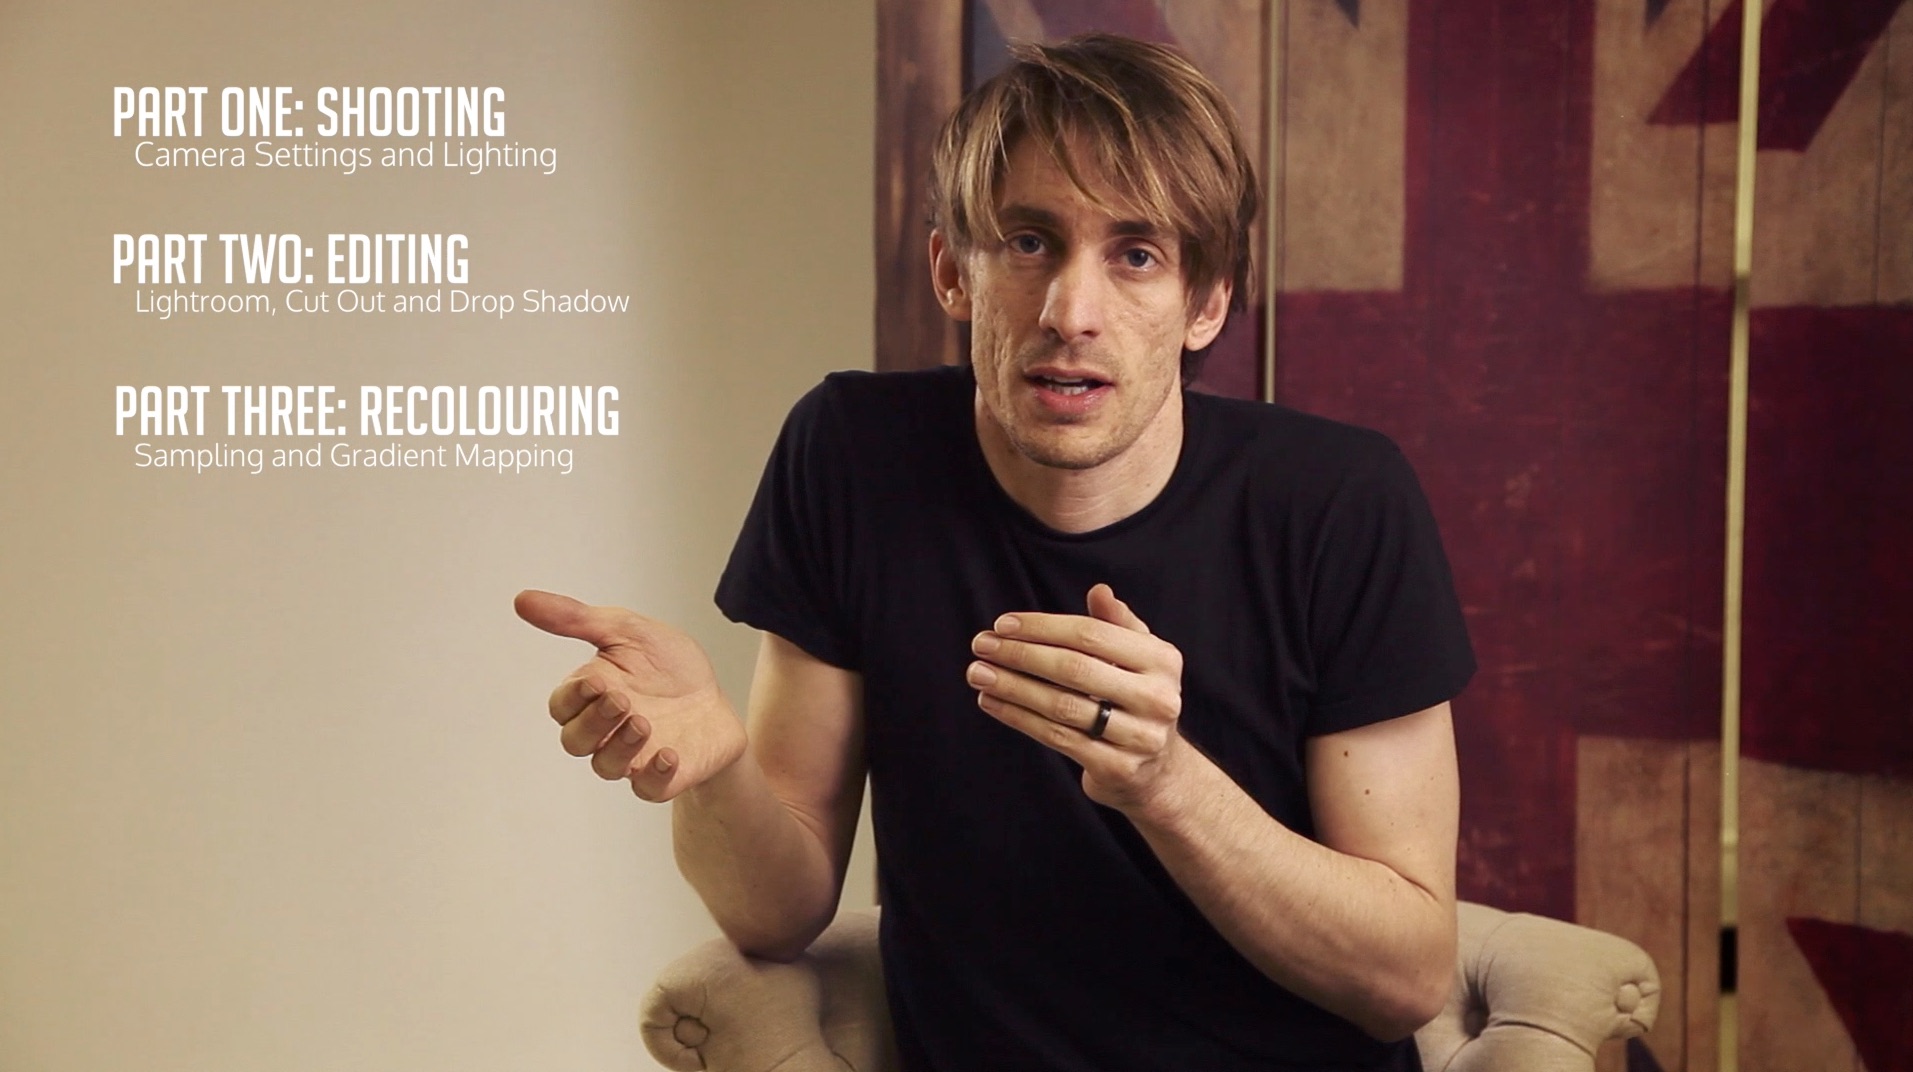
How to Photograph Large Products (part three)

I am filming a series teaching you the basics of shooting larger products and putting them on a white background. This will especially suit companies who are looking to set up their own studio to photograph their products and get them onto their website. Here is part three which will teach you how to recolour your product by sampling a swatch and mapping the target colour onto your image:
I hope you've enjoyed this series.
Please get in touch if you have any specific questions.
Best of luck.
How to Photograph Large Products (part two)
I am filming a series teaching you the basics of shooting larger products and putting them on a white background. This will especially suit companies who are looking to set up their own studio to photograph their products and get them onto their website. Here is part two which will show you how to edit, retouch, cut your product out onto a white background, and add a drop shadow:
Part three, which will follow soon, will teach you how to recolour your product by sampling a swatch and mapping the target colour onto your image.
If you have any specific questions, get in touch via the contact page.
Good luck.
Wells Blog
Duis mollis, est non commodo luctus, nisi erat porttitor ligula, eget lacinia odio sem nec elit. Maecenas faucibus mollis interdum. Nulla vitae elit libero, a pharetra augue.